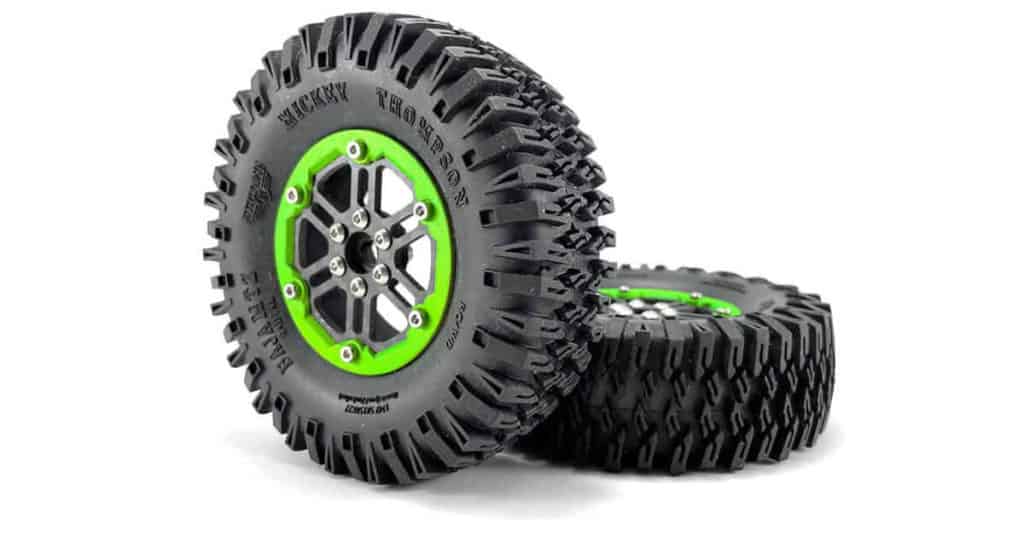
Items Needed
Tools Needed
- 1x 2mm Hex Screw Driver
- 1x M4 Nut Driver
Important!
READ BEFORE ASSEMBLY!
The Stonerockr™ 2.2″ LCG Offset Wheel Set is a performance-driven ultralight and ultra offset LCG wheel product. According to its mission it is designed to provide the best performance for your crawler experience.
Please consider that this is not an alumium scaler wheel rather a light structured performance wheel so please assemble them gently and follow the assembly instructions carefully.
Pay attention that wheels that are not properly assembled according to the Assembly Manual will void the warranty.
Assembly Process
STEP 1: Pre-Cut The Inner Ring Bead Threads
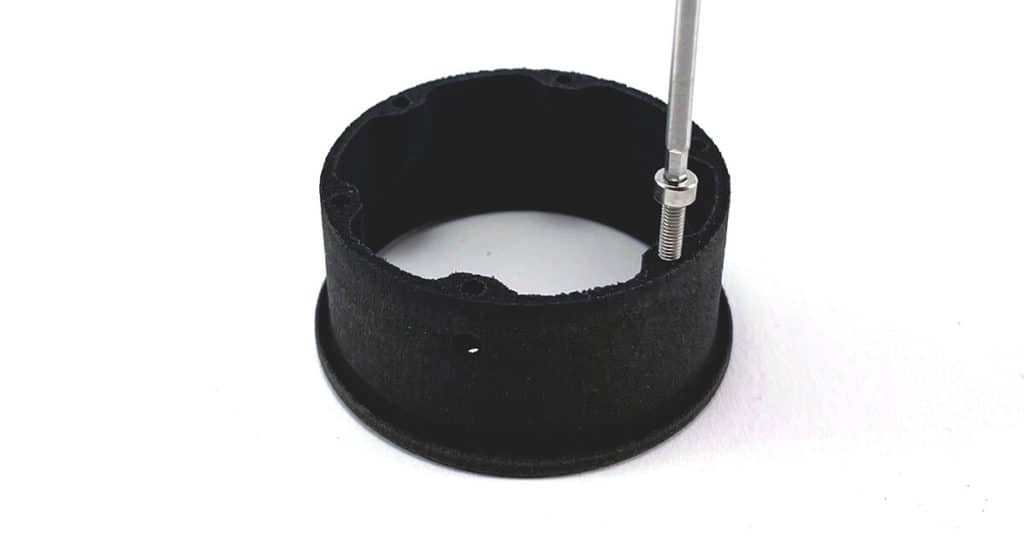
Before making any steps in the assembly process you want to gently pre-cut the thread in the bead holes of the Stonerockr™ 2.2″ LCG Offset Wheel Inner Ring with one of the M2.5x8mm cap head bead screws included in the package.
Why is this so important and essential?
The inner rings are made of high-tech PA12 composite material by the highest level powder based 3D printing technology to ensure the lightest structure possible. With this material it is essential to gently pre-cut the thread in calm circumstances without being under any stress or forces.
If you miss to pre-cut the thread of the inner ring bead holes and you cut them at the final assembly stage you risk to lag the thread in the powder based material as parts are under stress and forces. Do not take this risk!
STEP 2: Mount The Hex Hubs To The Front Plate
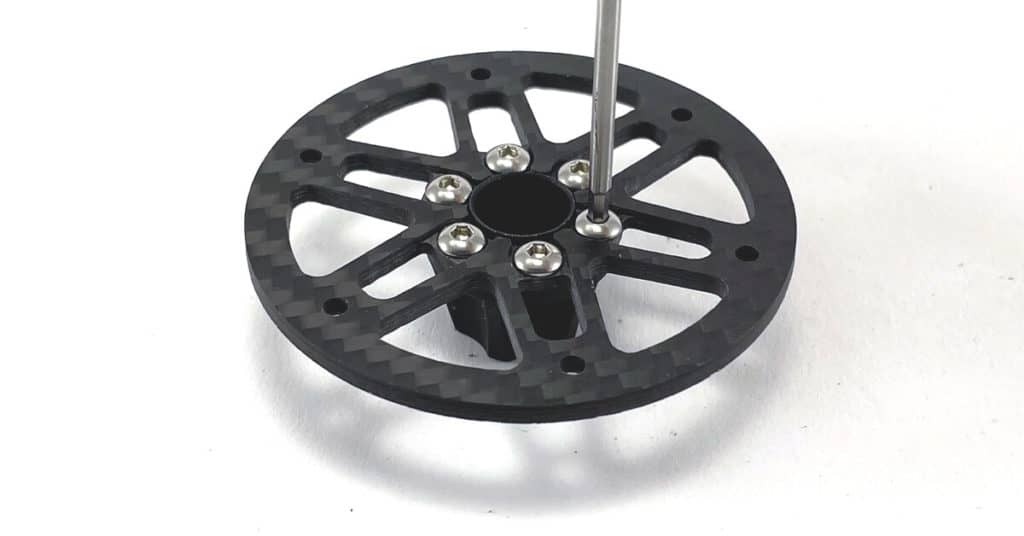
Fit the chosen hex hub into the Stonerockr™ 2.2″ LCG Offset Wheel Front Plate and mount it by the 6x M3x6mm button head screws.
STEP 3: Fit The Bead Ring Into The Tire And Foam Insert
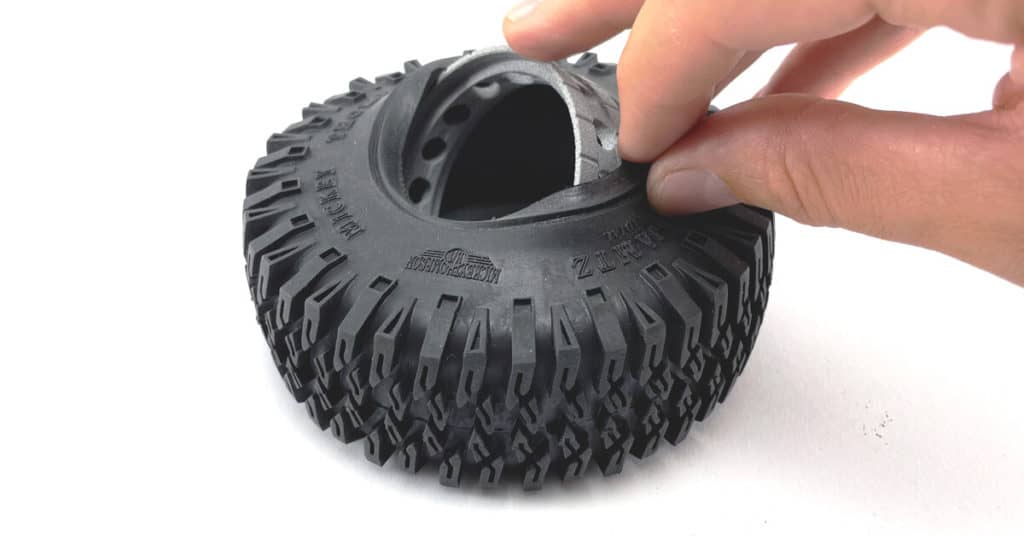
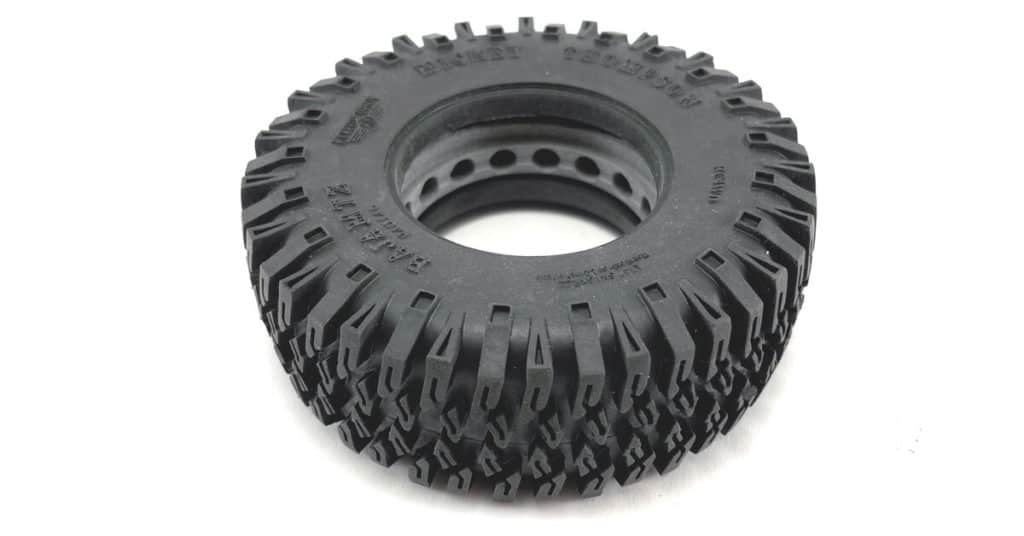
Prepare your foam inserts and your tires properly according to your tire setup and fit the Stonerockr™ 2.2″ LCG Offset Wheel Bead Ring gently and carefully into the tire onto the foam insert.
Handle With Care!
Please remember that the bead rings are made of high-tech PA12 material, they are not made of aluminium so do not force or stretch them as they can snap, crack or break. The bead rings can be easily fit if handled with care without any forcing needed.
STEP 4: Place The Inner Ring Into The Tire
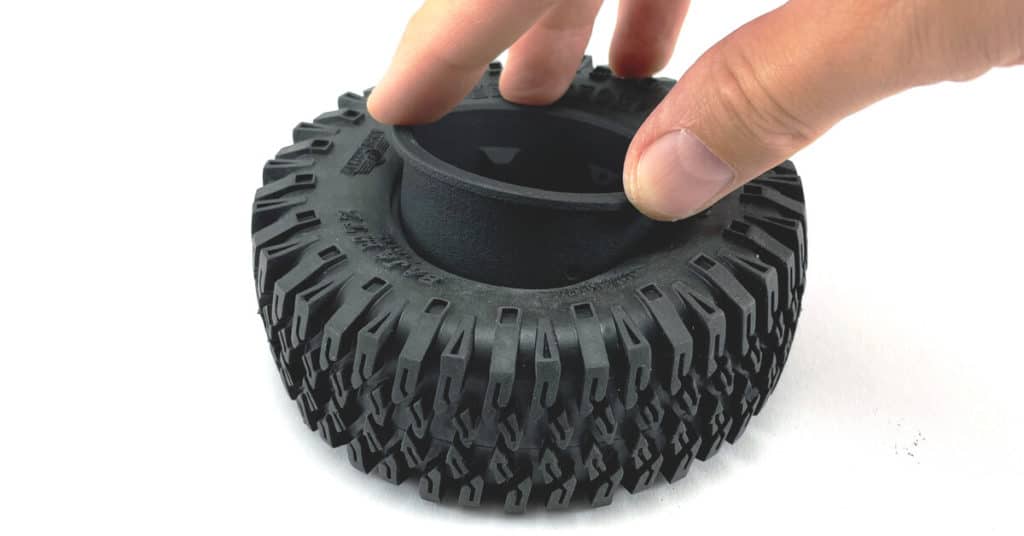
Just place the Stonerockr™ 2.2″ LCG Offset Wheel Inner Ring into the tire from the inner side fo the tire nice and easy. Please ensure the tire to fit properly onto the surface of the inner ring.
STEP 5: Place The Front Plate And The Front Ring On The Inner Ring
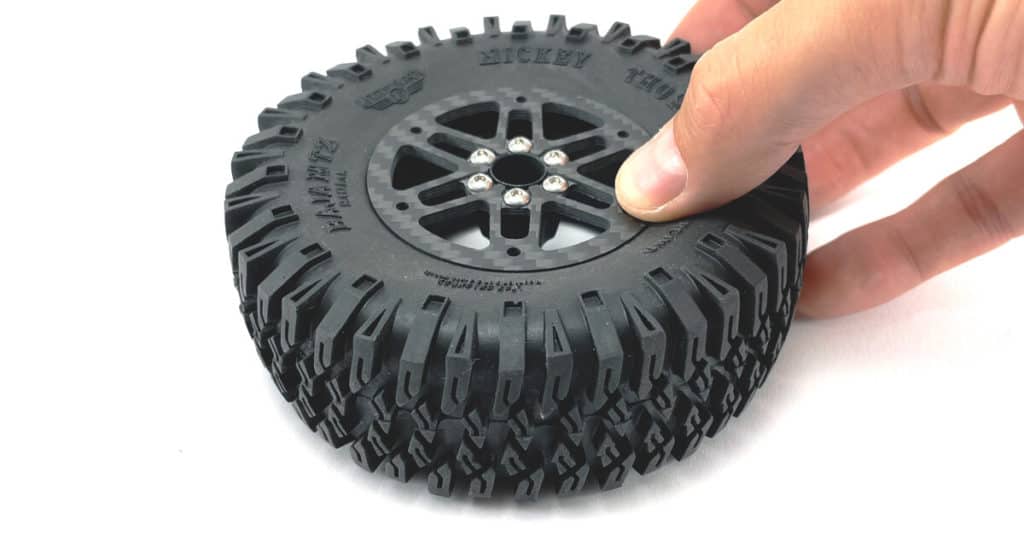
Now you can place the Stonerockr™ 2.2″ LCG Offset Wheel Front Plate and the Stonerockr™ 2.2″ LCG Offset Wheel Front Ring on the inner ring. You want to place them to fit their bead holes exactly matching the inner ring bead holes.
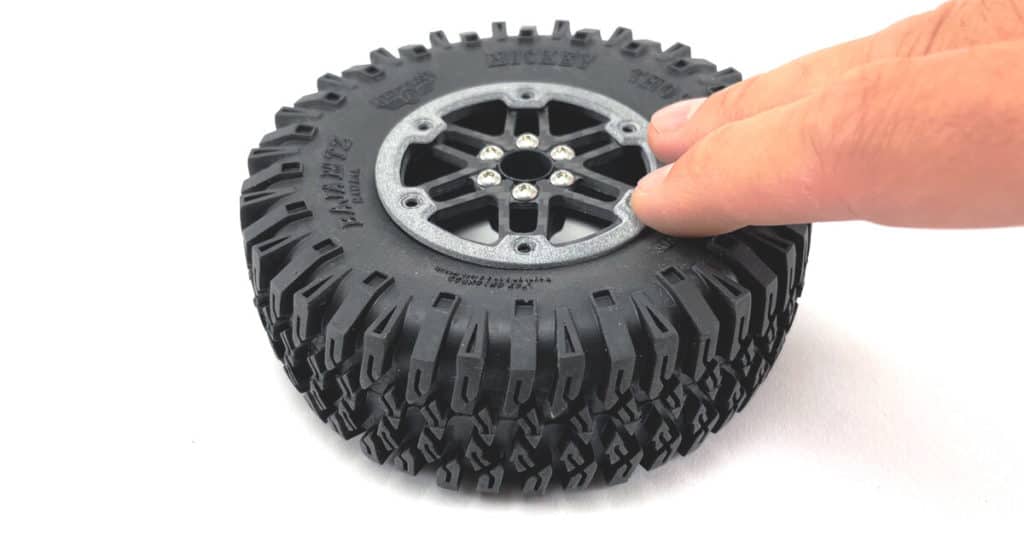
STEP 7: Mount The Bead Screws Into The Non-Venting Bead Holes
Now it’s time to begin to mount the front plate and the front ring to the inner ring. First you want to mount the 3x M2.5x10mm cap head screws into the non-venting bead holes of the inner ring.
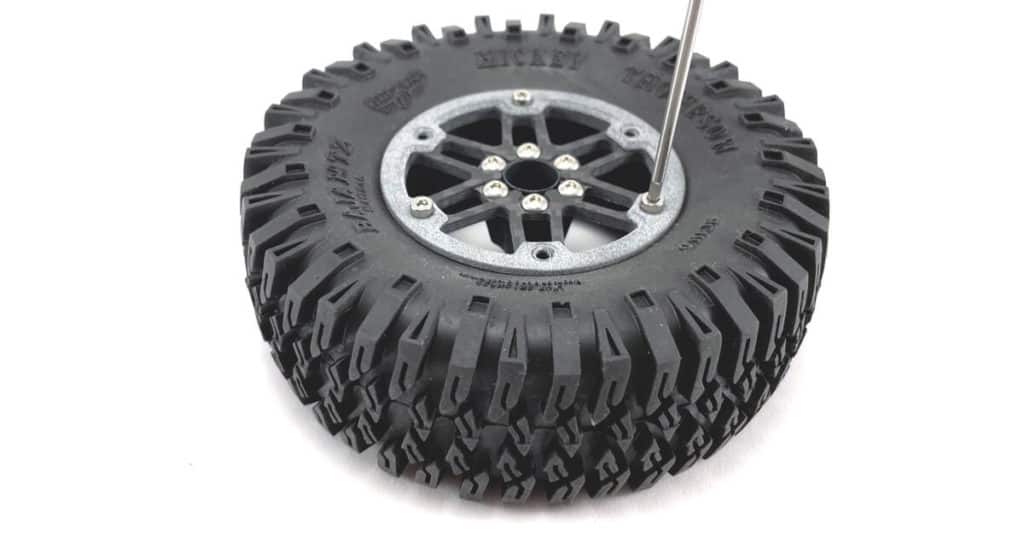
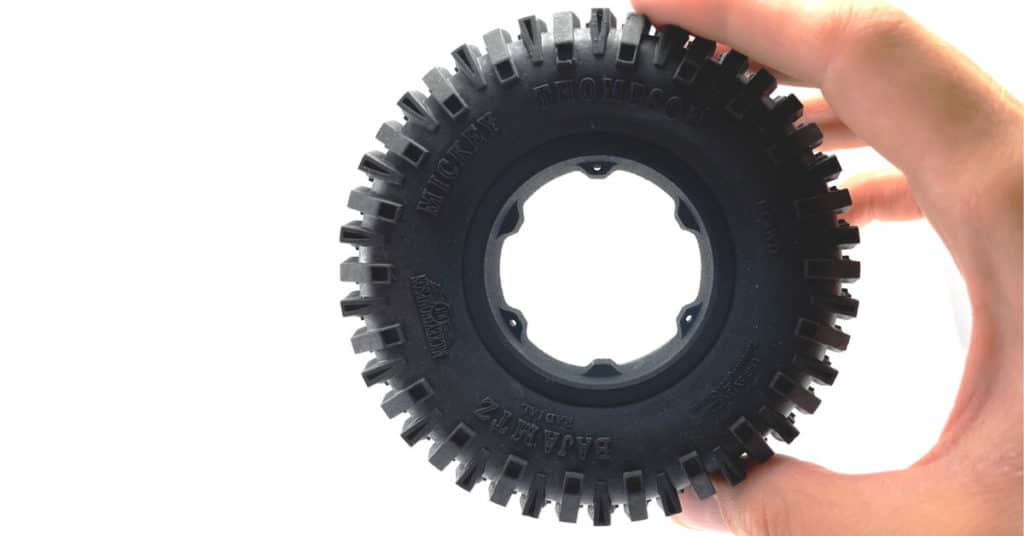
The non-venting bead holes you can identify by holding the wheel to the light: non-venting holes are the ones you are not able to see through. These are the holes you need to mount the 3x M2.5x10mm cap head screws into.
Important!
Please take care to tighten the 3 screws evenly. We recommend to screw 2 or 3 rounds at a time and progressing one by one until getting the front plate nicely fit onto the inner ring.
Please do not overtighten the bead screws! As this is a light structured performance wheel product made of PA12 by the highest level powder based 3D printing technology it is fairly enough to tighten the screws until the surfaces give a nice fit. By overtightening you risk to lag the bead hole threads.
While tightening the screws please keep on checking if the tire rubber is properly fits to the groove made by the inner ring and the bead ring.
STEP 8: Mount The Bead Screws Into The X-Ventz™ Bead Holes
Here you go with mounting the X-Ventz™ holes. Before doing anything you want to decide if you want your tires to be vented or non-vented.
What Is The X-Ventz™ Ventilation System?
Vented or non-vented tires? Depends on several factors and may varies comp by comp or by different wheel setups.
With the smartly integrated X-Ventz™ system of the Stonerockr LCG Offset Wheels you can easily enable or disable tires ventilation by changing 3 of the bead screws.
The X-Ventz™ bead holes you can identify by holding the wheel to the light: X-Ventz™ holes are the ones you are able to see through.
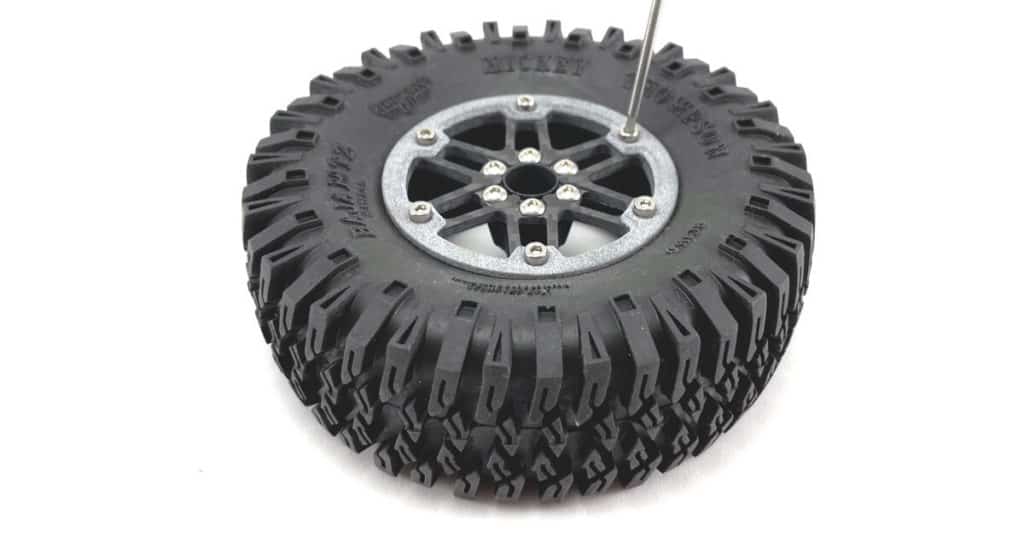
X-Ventz™ On Setup
If you want your tires to be vented use the 3x M2.5x8mm cap head screws to mount into the X-Ventz™ bead holes of the inner ring.
X-Ventz™ Off Setup
If you want your tires to be non-vented use the 3x M2.5x12mm cap head screws to mount into the X-Ventz™ bead holes of the inner ring.
Important!
Please do not overtighten the bead screws! As this is a light structured performance wheel product made of PA12 by the highest level powder based 3D printing technology it is fairly enough to tighten the screws until the surfaces give a nice fit. By overtightening you risk to lag the bead hole threads.
Done Successfully?
Pick up some upgrades ➝
Back to Stonerockr™ Wheels Manuals ➝